Low Light Harlequin Action

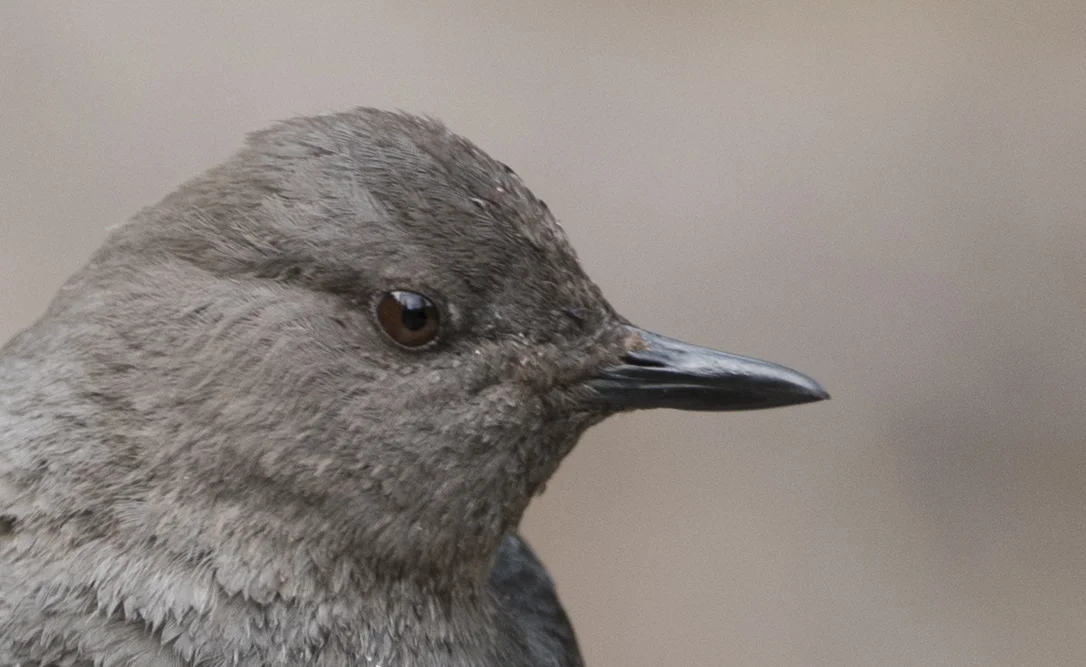
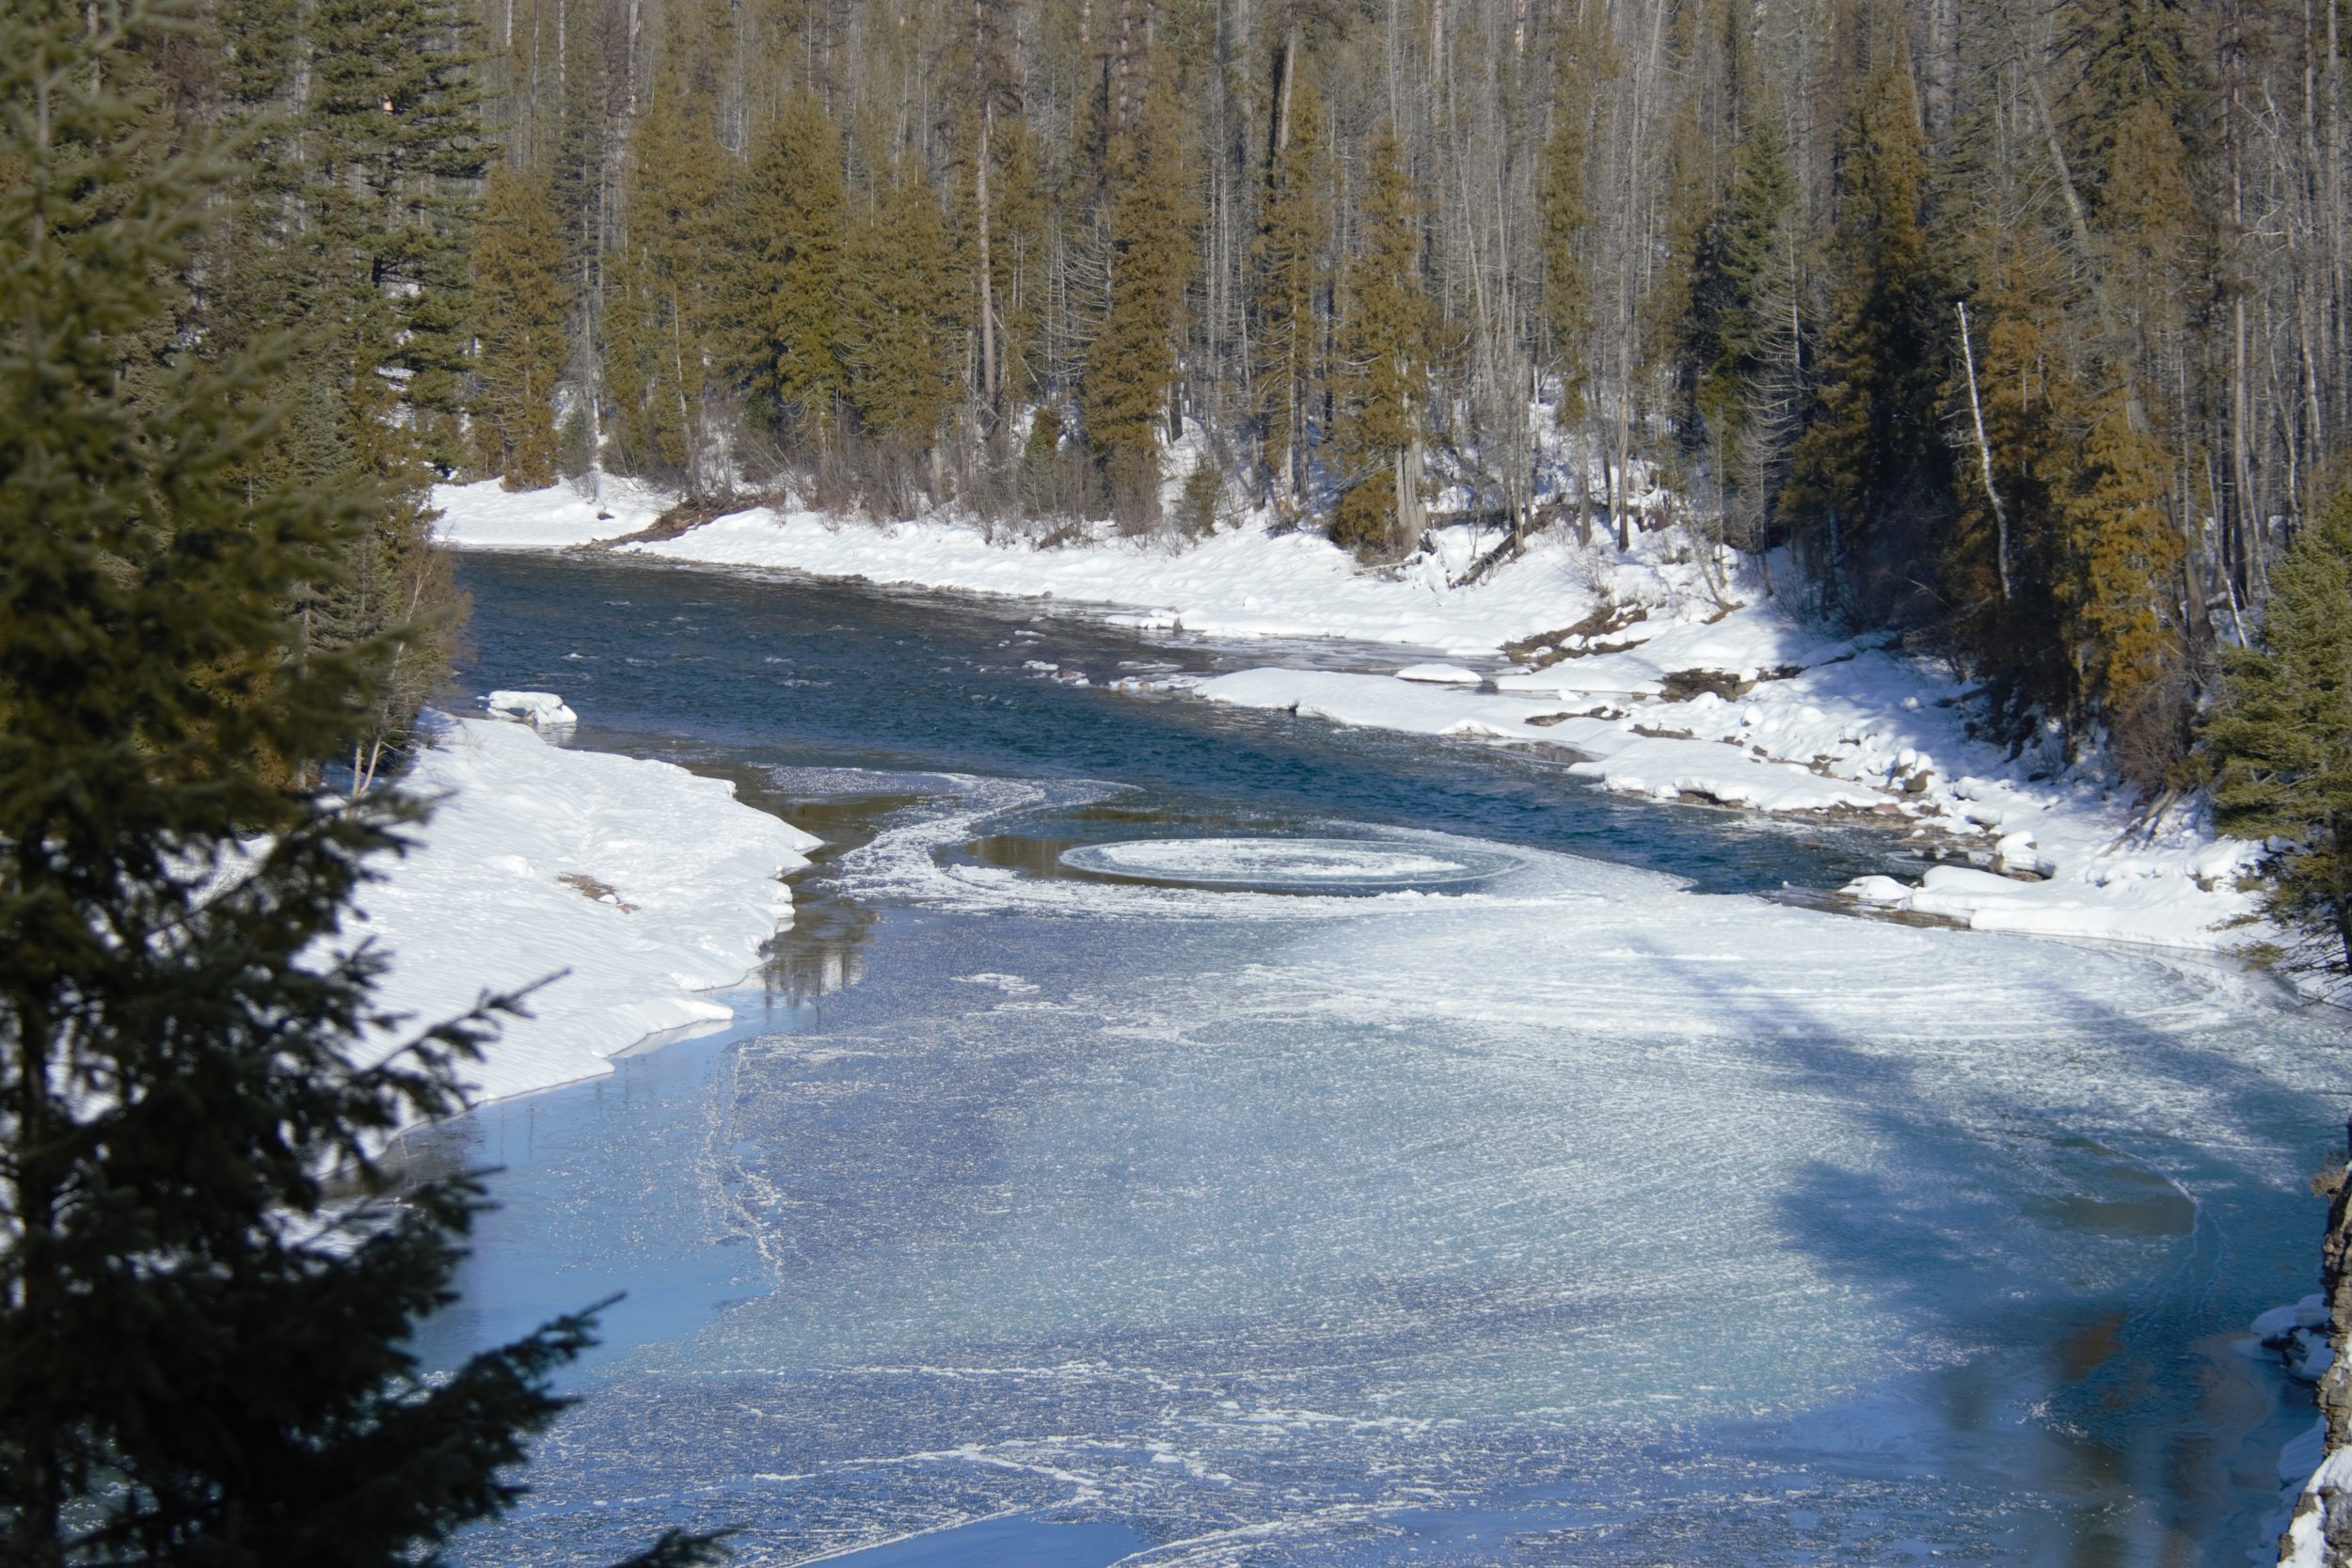
As an amateur photographer living in Northwest Montana, I find many photo challenges. One of them is the harlequin duck, a part-time resident which spends the late spring and early summer months in fast-running inland streams where they mate, nest and rear young. 

The scientific community has found, in some nearby waterways, the hen will cover her eggs with down and accompany her mate downstream to an open body of water and spend the night rafting with other harlequin ducks, perhaps to avoid predation. When morning arrives the pair flies back upstream to the nesting site.

200mm with 200-400mm f4 lens, ISO 200. shutter priority @ 1/1600 sec, about 5:35 AM

200mm with 200-400mm f4 lens, ISO 200. shutter priority @ 1/1600 sec, about 5:35 AM

For me the toughest bird photography shot is any bird flying at you. If I narrow my species down to the somewhat uncommon Harlequin ducks, the challenge becomes even harder. Still, on the waterway I selected I found a straight stretch of stream that is several hundred yards long, and in late May, just before 5:00 a.m., I would position my camera and tripod where I could see downstream quite a way.    At that time of year, I don’t start seeing color till about 5:15 a.m. 

On the second day between 5:25 and 5:30 a.m. I had four pairs of Harlequin ducks fly upstream in my direction. For me, the difficult part with the camera is to “get on” the birds and stay on. These tough little birds only weigh about a pound and a half and when they are flying upstream, they are 35 to 40 mile per hour bullets. 

I like a heavy duty tripod and I’ll weigh it down if I can. I like a gimbal tripod head. I can grab or let go quickly, no extra movements as I am too busy looking. I use a 200-400mm F4 Nikon lens with a Nikon D850 camera. This camera has a high pixel count so it records a lot on information, and I can crank the lens down giving me a wider field of view. My body alignment is as important to me as it is to the golfer, shooter and batter. I want my lead tripod leg to be pointed at the “sweet spot” where I expect the middle of my shutter burst will be. I have the tripod adjusted so the eyepiece is near the end of my nose, so I must lean forward slightly with my lead foot (left, in my case) and just a bit of my weight forward. The gimbal resistance controls are positioned on the right side of the lens barrel so my left hand can easily and firmly hold the lens barrel while my right hand is on the camera ready to squeeze the shutter.  Once in position, I move my head to the side and start watching down the lens barrel at the spot I expect to see the harlequins first. 

When I spot the ducks, I move my eye to the eyepiece, find them in the frame and get the focus point on them as soon as I can to start my shutter burst while I follow through with the lens. This is, for me, an exciting moment.

These birds are quick, so I use a fast 1/1600 of a second shutter speed and a low ISO, either 200 or 250.   With these camera settings the LCD screen on my camera comes up black, so consequently I don’t know how I did until the images are transferred to my photography program. Once the images are in the program I depend heavily on the exposure slider in the develop segment of the program. After I select the sharpest image, I crop and compose. 

This photographic path has been, for me, a successful way to take action photographs of harlequin ducks in low light conditions.

300mm f2.8 lens, ISO 250, shutter priority @ 1/1600 sec, about 5:35 AM

300mm f2.8 lens, ISO 250, shutter priority @ 1/1600 sec, about 5:35 AM

Shooting Small Birds

I turned just slightly to my left and looked through the aperture again.  Perfect.  I then moved the barrel of the lens to all three perch points and at each one softly squeezed off the shutter.  I checked to see that all the photographed points were sharp and knew I was ready.   In about a half an hour I could have a good photo session with a pair of dippers. 

The evening before I had glassed this pair of birds dipping and diving after insects in this fast-flowing mountain stream.  I could see they were using three closely associated perch points and just to the left of the stream was a flat bit of beach where I could set up stool, tripod, camera and lens.

I was now ready.  The folding stool was comfortable, the lens was level with the perch points and I had a soft piece of camo wrapped around the front of my tripod legs.  I had good body alignment, perfect site pictures and knew how to initiate soft shutter squeeze.     

There was one part missing, sunlight.  With sunlight I can run my camera one way, without sunlight I have to change my procedure.  I was using the aperture-priority setting so my shutter speed was one-one hundred and sixtieth of a second.  I had the camera’s white balance set at cloudy and the meter set on spot.  My lens was zoomed to four-hundred mm with an f/4 wide open aperture and the focus limit switch set to full. 

The range from lens to perch point was about fifteen feet.  At that distance the “depth of field (DOF)” of my lens, at four hundred mm, is one-point-one-three inches.  It is important to have your image sharp.  If part of the bird is out of DOF, that part will be soft but I don’t want to waste DOF.  If the dipper is three inches wide I can reduce my zoom to three-hundred-seventy-five, increasing the DOF some, which also reduces my shutter speed a bit.  Thus, if the bird is broad-side I can put the focus point where the neck meets the shoulder a making every part of the dipper with-in the DOF.

Lastly I keep my release mode dial at “continuous high speed”.  But with low light I’ll likely waste concentration with shutter bursts.  So it is important for me to control my shutter squeeze as carefully as I can.   By taking up the shutter slack I get lens focus exactly where the focus point is and with concentration moving the shutter more, just enough, so that when the bird is stopped I can follow through getting one image with-out engaging continuous shutter bursts.  Single shutter burst on continuous allows me options with-out wasting time with the release mode dial.

Figure 1 - Untouched Dipper

Figure 1 - Untouched Dipper

Figure one is an untouched image of a dipper.  Figure number two is a much cropped version of the same image.  By holding the camera tightly against my forehead and concentrating on a careful shutter squeeze the cropped image shows a fairly sharp photo.  All birds stop for a moment, even at lower light.  Be ready.

Figure 2 - Cropped Dipper

Figure 2 - Cropped Dipper

Dippers are crazy, unique, and small and “tough as nails” birds to photograph.  They live, mostly, on harsh, fast moving mountain streams.   After a couple photographs you see some differences from other birds.  They have small white feathers on their eyelids and their feathers have a coarser appearance.  Water has viscosity, coarser appearing feathers could have something to do with how they manage their movement in and under water.  Still, they are very hardy photo subjects.

My method for photographing small birds changes with good sunlight.  No other light source treats color better than sunlight.  Ideally I want the sunlight just barely over my right shoulder or my left shoulder. 

This slight difference of angle of light can allow faster shutter speeds to show interesting subtle color variations of image surface.    

A few days before my dipper photography session I had the opportunity to spend camera time with a small flock of cedar waxwings.  Unlike dippers, waxwings have a fairly wide window of feeding opportunity.  Waxwings can fly-catch, collect insects on the edges of river ice, snip ripe and dried berries as well as small nectar baring blossoms.

My Canton Easter hedge was just starting to show small white/pink blossoms when late in the afternoon I heard waxwing calls.  The sun was perfect and I had time.  I quickly set up my camera with a 300mm f/2.8 lens and set it up on the tripod.  The birds were just above me in the hedge so because I had a very smooth tripod head I raised the camera more by the tripods center column after moving about fifteen feet from the feeding area.  In this way I could look through the camera, up, comfortably and not have to scrunch any.  I had perfect body alignment.  Next, as they were busy feeding and ignoring me, I added a ten pound weight to the tripod, increasing the stability.   I already had the camera adjusted to “continuous high speed” and the LCD was indicating my shutter speed would be one-sixteen-hundredth of a second.  With that shutter speed I could stop any waxwing during a feeding frenzy. 

Figure 3 - Waxwing

Figure 3 - Waxwing

Now was a time to take a moment and watch.  An individual waxwing would perch (image #3) among a small cluster of blossoms, sit up straight for a moment, as though he was studying his surroundings then cock his head forward.  The “tell” was the waxwing bending its head forward.  This waxwing had picked the best looking blossom.  As soon as I saw him tilt his head I would start the shutter burst.   During the course of a shutter-burst the waxwing would reach down, grab the blossom stem and with a twist and pull of his head and body snap the blossom off and as he straightened he would swallow the nectar laden flower.   I repeated this shutter-burst process several times in the next twenty-five minutes.  The result was a highly cropped, sharp image (image #4) of a waxwing just about to grasp a flower stem with its beak.                         

waxwing.jpg

The real fun in small bird photography is learning about the birds.  They all have similarities and they all have differences.  But to capture these guys you have to have a comfortable position, an understanding of the depth of the field-of-view at the distance you are shooting and a good shutter-squeeze.

Summering Over

A year later and there she was, within yards of the site where I had last taken her photo.  She looked kinda rough around the edges, but as this past winter had been a bit on the tough side this doe was probably not doing too badly.

April 2017

April 2017

I had heard in late March, 2017 that earlier that month the Montana Department of Fish, Wildlife and Parks had collared two female mule deer near the confluence of Big Creek and the North Fork of the Flathead River.  Their goal was to monitor deer movement with radio transmitter devices in that area.

I venture up this portion of the Flathead Valley often.  It is somewhat remote and has good winter range habitat for elk, mule deer and whitetail deer.  

While recent forest fires have changed the biological scene in that area it is still possible, during winter months, to see a range of wildlife, from dippers to eagles, coyotes, elk and deer. 

On April 10, 2017, returning from a site further north I spotted a small group of mule deer quietly feeding of the short tender green grass trying to emerge through last year's flattened crop of wild grass.  As soon as I put the field glasses on them I noticed a deer with a white collar.  With camera and tripod I maneuvered to a point where I could grab the lens and zoom back, getting the whole group. After a short wait I zoom out and photographed just an image of her.  If you want to get close to deer you have to be careful.  Deer tend to feed into the wind.  Scenting is an important part of their survival technique.  I was lucky as the breeze was moving down hill to my right, and as they were up hill to my right I don't think they knew I was there.

April 2017

April 2017

Subsequent chats with MDFWP I was told this doe, because of radio collar transmissions, summered near the top of a nearby ridge, while the other collared mule deer spent her summer months up the McDonald Creek drainage several miles upstream from McDonald Lake in Glacier National Park.  I found it interesting that two deer that wintered so close together would summer so far apart. 

 Now it is time for her to "summer over" again.  In the 2017 photograph she is accompanied by twelve other mule deer.  Are all the members of this group related or are all the members strictly social, or, is it a combination of both?  And how does group interaction influence the summer range site?  Were it not physically and economically impossible, attaching collars to all the members of this group would really be interesting.  Could one find more preferable as well as less preferable summer and winter habitats, and would that better inform our scientific community about mule deer range?

To me, a second intriguing thought would be just how ancient would this mule deer doe's DNA history be at this Big Creek drainage site?  Could her lineage go back to some few years after our glaciers receded?  While we will never know her ancient history we can observe how she proceeds into her future.  And that will prove to be just as interesting.  

April 2018

April 2018

As you can see from the photos, she and her "clan" appear in better shape in the April 2017 photos.  Both this deer and her smaller band seem more tattered in the April 2018 images, but still look to be in reasonable health.

Sadly the second collard mule doe did not survive, and MDFWP does not know how she passed. Still, it is going to be interesting to see how this remaining mule deer doe fares as time goes on.

April 2018

April 2018

A North Fork Ice Disc

I had the camera trained on a perfect 40-foot circle of ice.

This was my second disc sighting, same place, and same disc size. I looked down on the river at the snow-shrouded Glacier Rim Boat Landing, a public access boat ramp. If you stand on the ramp, facing the river, you’ll notice the stream crooks and drops a bit. When the conditions are right, ice discs can form at this spot.

The North Fork of the Flathead River system is a young tributary, a young river with history. One event in its history is the ice disc.

Born about 15 thousand years ago during those turbulent times of glaciation, the North Fork has mysteries in its past. Not a long river, it flows south and slightly west along the border of Glacier National Park. As you float this stream there seems to be a series of long pools that sluff off to the right at the downstream edge.

Over time, receding glaciers gradually made the North Fork longer and longer. At the boat access, the river flows over bedrock, making this a very old stretch. This stable portion of flow, over time, has probably produced many discs.

River ice circles are an uncommon phenomenon, with sightings ranging globally in colder climates. The few photos of ice discs on other rivers indicate a consistency in stream shape.

Theories on their formation, and there are many, range from chunks of ice breaking off and grinding in one spot, to alien intervention. It would seem this is a North Fork secret.

Here is one theory: Precipitation changes flow all the time. The build-up of winter snow on the banks reduces the river’s flow. At the boat landing, where the river drops, the right flow can produce a subtle flat swirl or eddy.

As the temperature decreases, it is possible for ice to form in the center of that quiet patch of water. Ice also forms inward from the riverbanks, which causes upstream flow to slow even more. As ice at the center of the swirl expands toward the current, it might start to rotate, forming a perfect circle where it meets the ice growing from the river’s edge.

The reality is there’s no clear understanding of how these circles form. However, I took these photos on Jan. 21, 2014. Historical data indicates Kalispell, Montana temperatures on Jan. 20 through Jan. 22 ranged from a high of 33 degrees to a low of 12 degrees. The river discharged an estimated 520 cubic feet per-second at Glacier Rim on Jan. 21, a common flow rate for the early months of the year.

It’s likely, this coming January, at this nick point, at this temperature and flow rate, another ice disc could form.

This portion of the North Fork River may have produced many ice circles over the years. I’ve seen two. If I’m lucky enough to see a third, I will spend more time

DSC_8093 (2) - Copy.jpg